A great mailer box does more than protect your product — it earns free marketing every time a customer unboxes it on camera. In 2026, short-form video on TikTok, Instagram Reels, and YouTube Shorts rewards packaging that reads clearly in vertical frame: bold interior color, a staged reveal, and one memorable detail.
Here is how to design a shareable mailer box people want to post, in five steps.
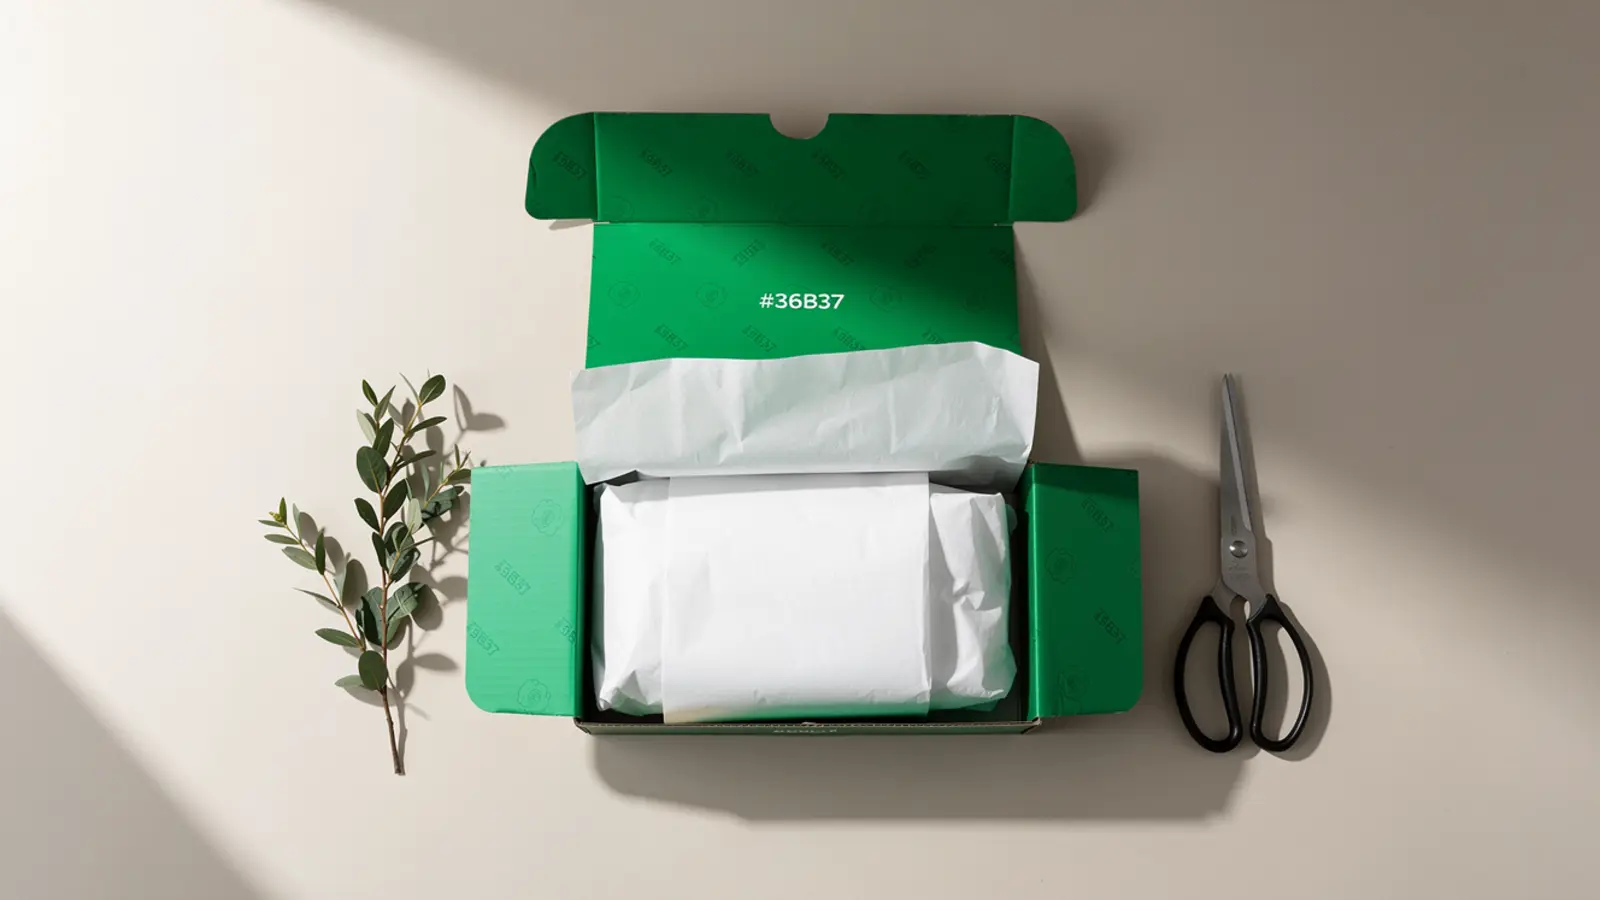
1. Print the inside, not just the outside
The moment of delight happens when the lid opens. Use full-color interior printing to reveal a pattern, message, or brand moment the plain outside never hints at. This single decision separates premium unboxings from generic shipments.
For DTC brands scaling unboxing ads, interior panels also become reusable creative assets — film once, cut multiple hooks.
2. Design a deliberate reveal sequence
Think of opening the box like a story with a beginning, middle, and end. Layer tissue paper or a printed liner over the product so the reveal happens in stages rather than all at once.
Subscription and beauty brands often add a second layer (sleeve or insert lid) so the hero SKU appears last — peak engagement for video.
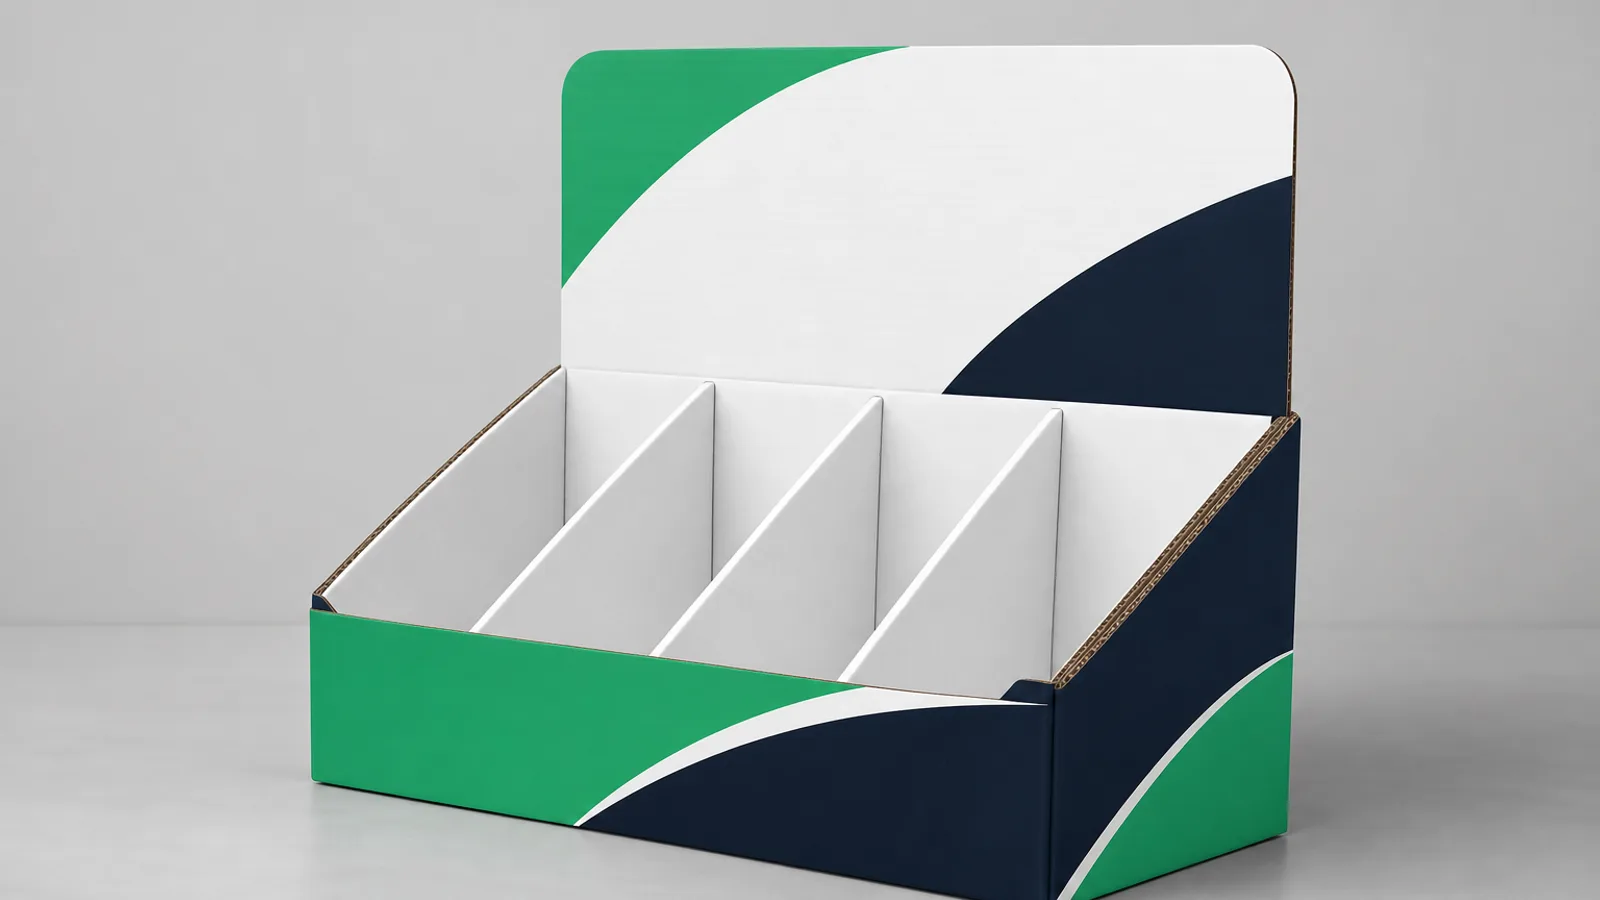
3. Add a custom insert
A die-cut insert holds products in place and frames them like a display. Inserts prevent items from shifting in transit and make the contents look curated and intentional.
See cardboard box dividers and inserts for cavity sizing and MOQ notes.
4. Include a small surprise
A thank-you card, sticker, or sample costs little but creates a reason to share. Personalized touches consistently drive the highest engagement in unboxing content.
QR codes to reviews, referrals, or a founder video outperform generic “thanks for your order” copy in 2026 tests.
5. Keep the exterior clean and confident
A restrained, well-branded exterior builds anticipation. Resist the urge to crowd every panel; negative space signals quality and makes your logo the hero.
Pair exterior discipline with interior energy — the contrast is what viewers comment on.
Putting it together in 2026
The best shareable mailer boxes combine interior print, a thoughtful reveal, a custom insert, and one small surprise. Start with E-flute mailer boxes for the smoothest print surface.
For channel-specific checklists, see the Shopify packaging checklist and custom design mailer boxes guide.
Ready to design yours? Explore mailer boxes or get a free quote.